Deploy Firebase Cloud Function
We will deploy the cloud function in the folder Cloud Function to the Firebase Cloud Function, this Cloud Function is used to handle any server side logic, such as create livestream Room, handle payment, send notification, gift, or any server side logic that is needed to run the MeeGo Live app, this Cloud Function is just Node.js project with Typescript, let's proceed to deploy it.
Step No.1 Set up Node.js and the Firebase CLI
You'll need a Node.js, and you'll need the Firebase CLI to deploy functions to the Cloud Functions runtime.
- Install Node.js and Npm
Once you have Node.js and npm installed, install the Firebase CLI via your preferred method. To install the CLI via npm, use:
npm install -g firebase-tools
- after installing Node Js, and Firebase Cli we will initialize our firebase cloud
Step No.2 Initialize Firebase Cloud Function Project
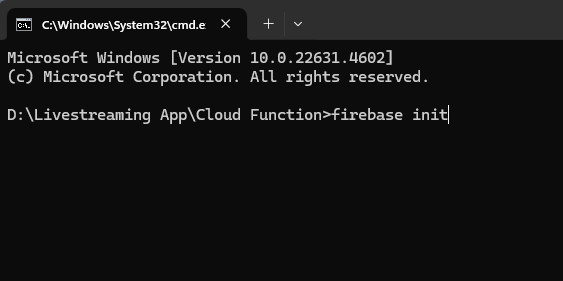
Open terminal in folder, /Cloud Function if you use Windows open it with CMD
- inside that folder type
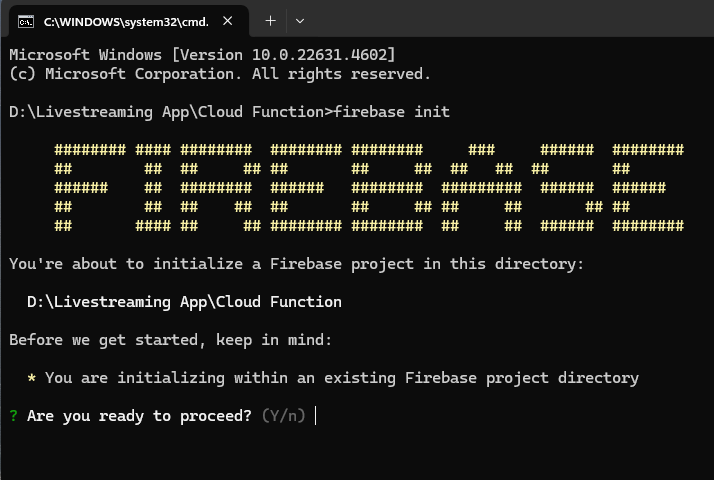
firebase init
-
if this is your first time using the firebase cloud function, chances are you will be asked to login first, authenticate using the firebase account that you created the project
-
after that, you'l be asked if you ready to proceed, type
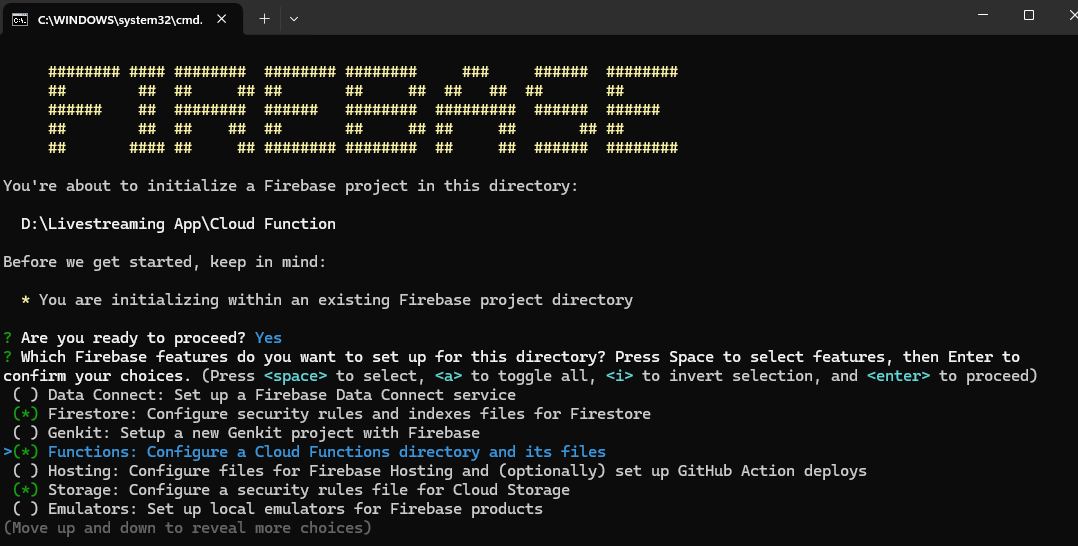
Yand then enter
- after that you will have to choose what features to activate by pressing the
space bar, activate the features below- Firestore,
- Functions,
- Storage
- Realtime Databases
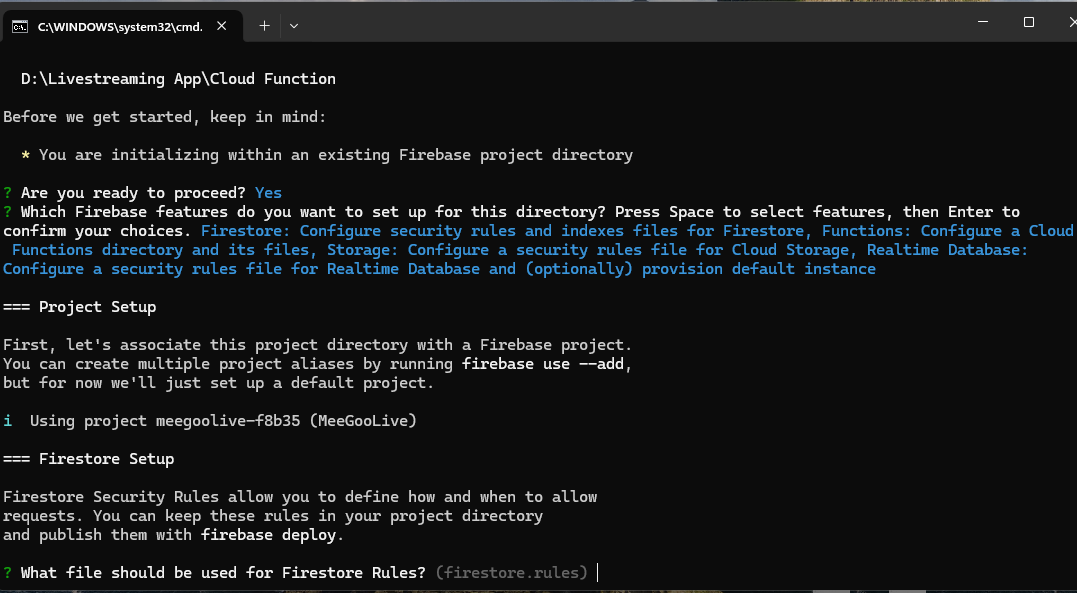
after the feature is selected, press Enter
- after that, select
Use an Existing project-> enter

- choose the project we just created -> enter

- Next if it ask you "What file should be used for Firestore Rules?", just press enter
if the question wants to overwrite the file, choose No or N, because if you choose yes, the file will be lost and you will have to copy it again, from Zip MeGooLive
- type
Nand then Enter
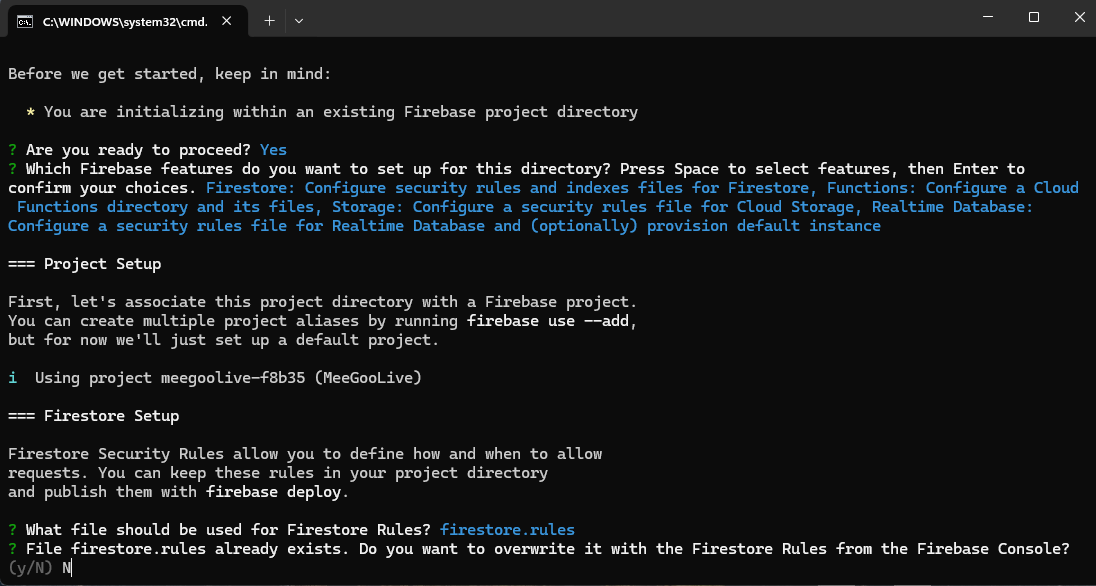
again, the question wants to overwrite the file, choose N or no

- for the questions below, just leave it blank, just press enter
![]()
again, the question wants to overwrite the file, choose N or no
- for the question Initialize or Overwrite, choose
Overwrite, because we will overwrite the file

- choose Typescript (new update with typescript support)

choose no in the questions below,

again, the question wants to overwrite the file, choose N or no
![]()
again, the question wants to overwrite the file, choose N or no
![]()
now you can choose yes, because the question wants to install dependencies

- for the questions below, just leave it blank, just press enter
![]()
again, the question wants to overwrite the file, choose N or no
![]()

- After all that, our Firebase Cloud Functions have been successfully initialized. Next, we will create the .env file.
Step No.3 Create .Env File
Our .env file will contain the necessary url for our livestreaming app
Open the folder Cloud Function in VSCode, and open file /functions/.env.example
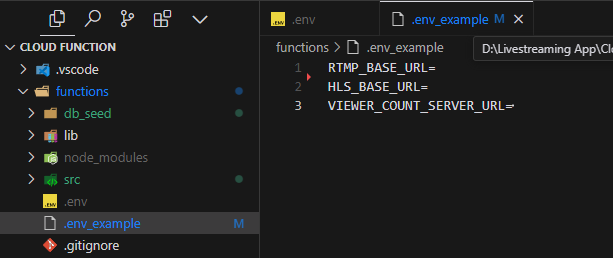
- create new file
.env, and copy the content of the file.env.example, and paste it to the file.env.
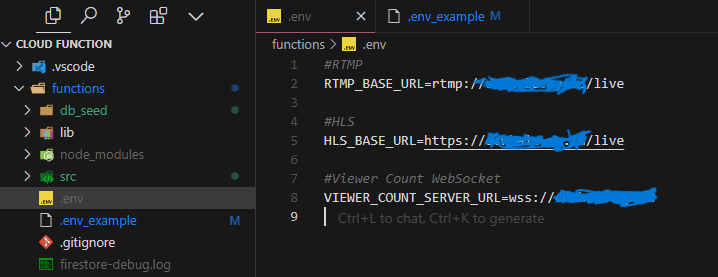
We will fill each of the variabler later, but for now, we will deploy the Cloud Function to Firebase
Step No.4 Deploy the Cloud Function to Firebase
Now to deploy the Cloud Function to Firebase, we will use the command below, make sure you are in the folder Cloud Function
firebase deploy
- if you get an error, try to run the command again, sometimes firebase will throw an error if you run it for the first time
If you face any error that you don't know how to fix, you can just contact me on whatsapp: +6281244051812 or at email : andyshawshank9@gmail.com
After all of that, our Firebase Cloud Function has been successfully deployed, next we will Setup Admin Credential so we can Login to the Admin Dashboard